One of the new projects we are now doing is to remove some old, copper fascia pieces and replace them with new copper pieces. The homeowner wants to retain a “used” look with the replacements. In other words, he wants the new copper to have a blue, oxidized patina so it looks like they’ve been there for years.
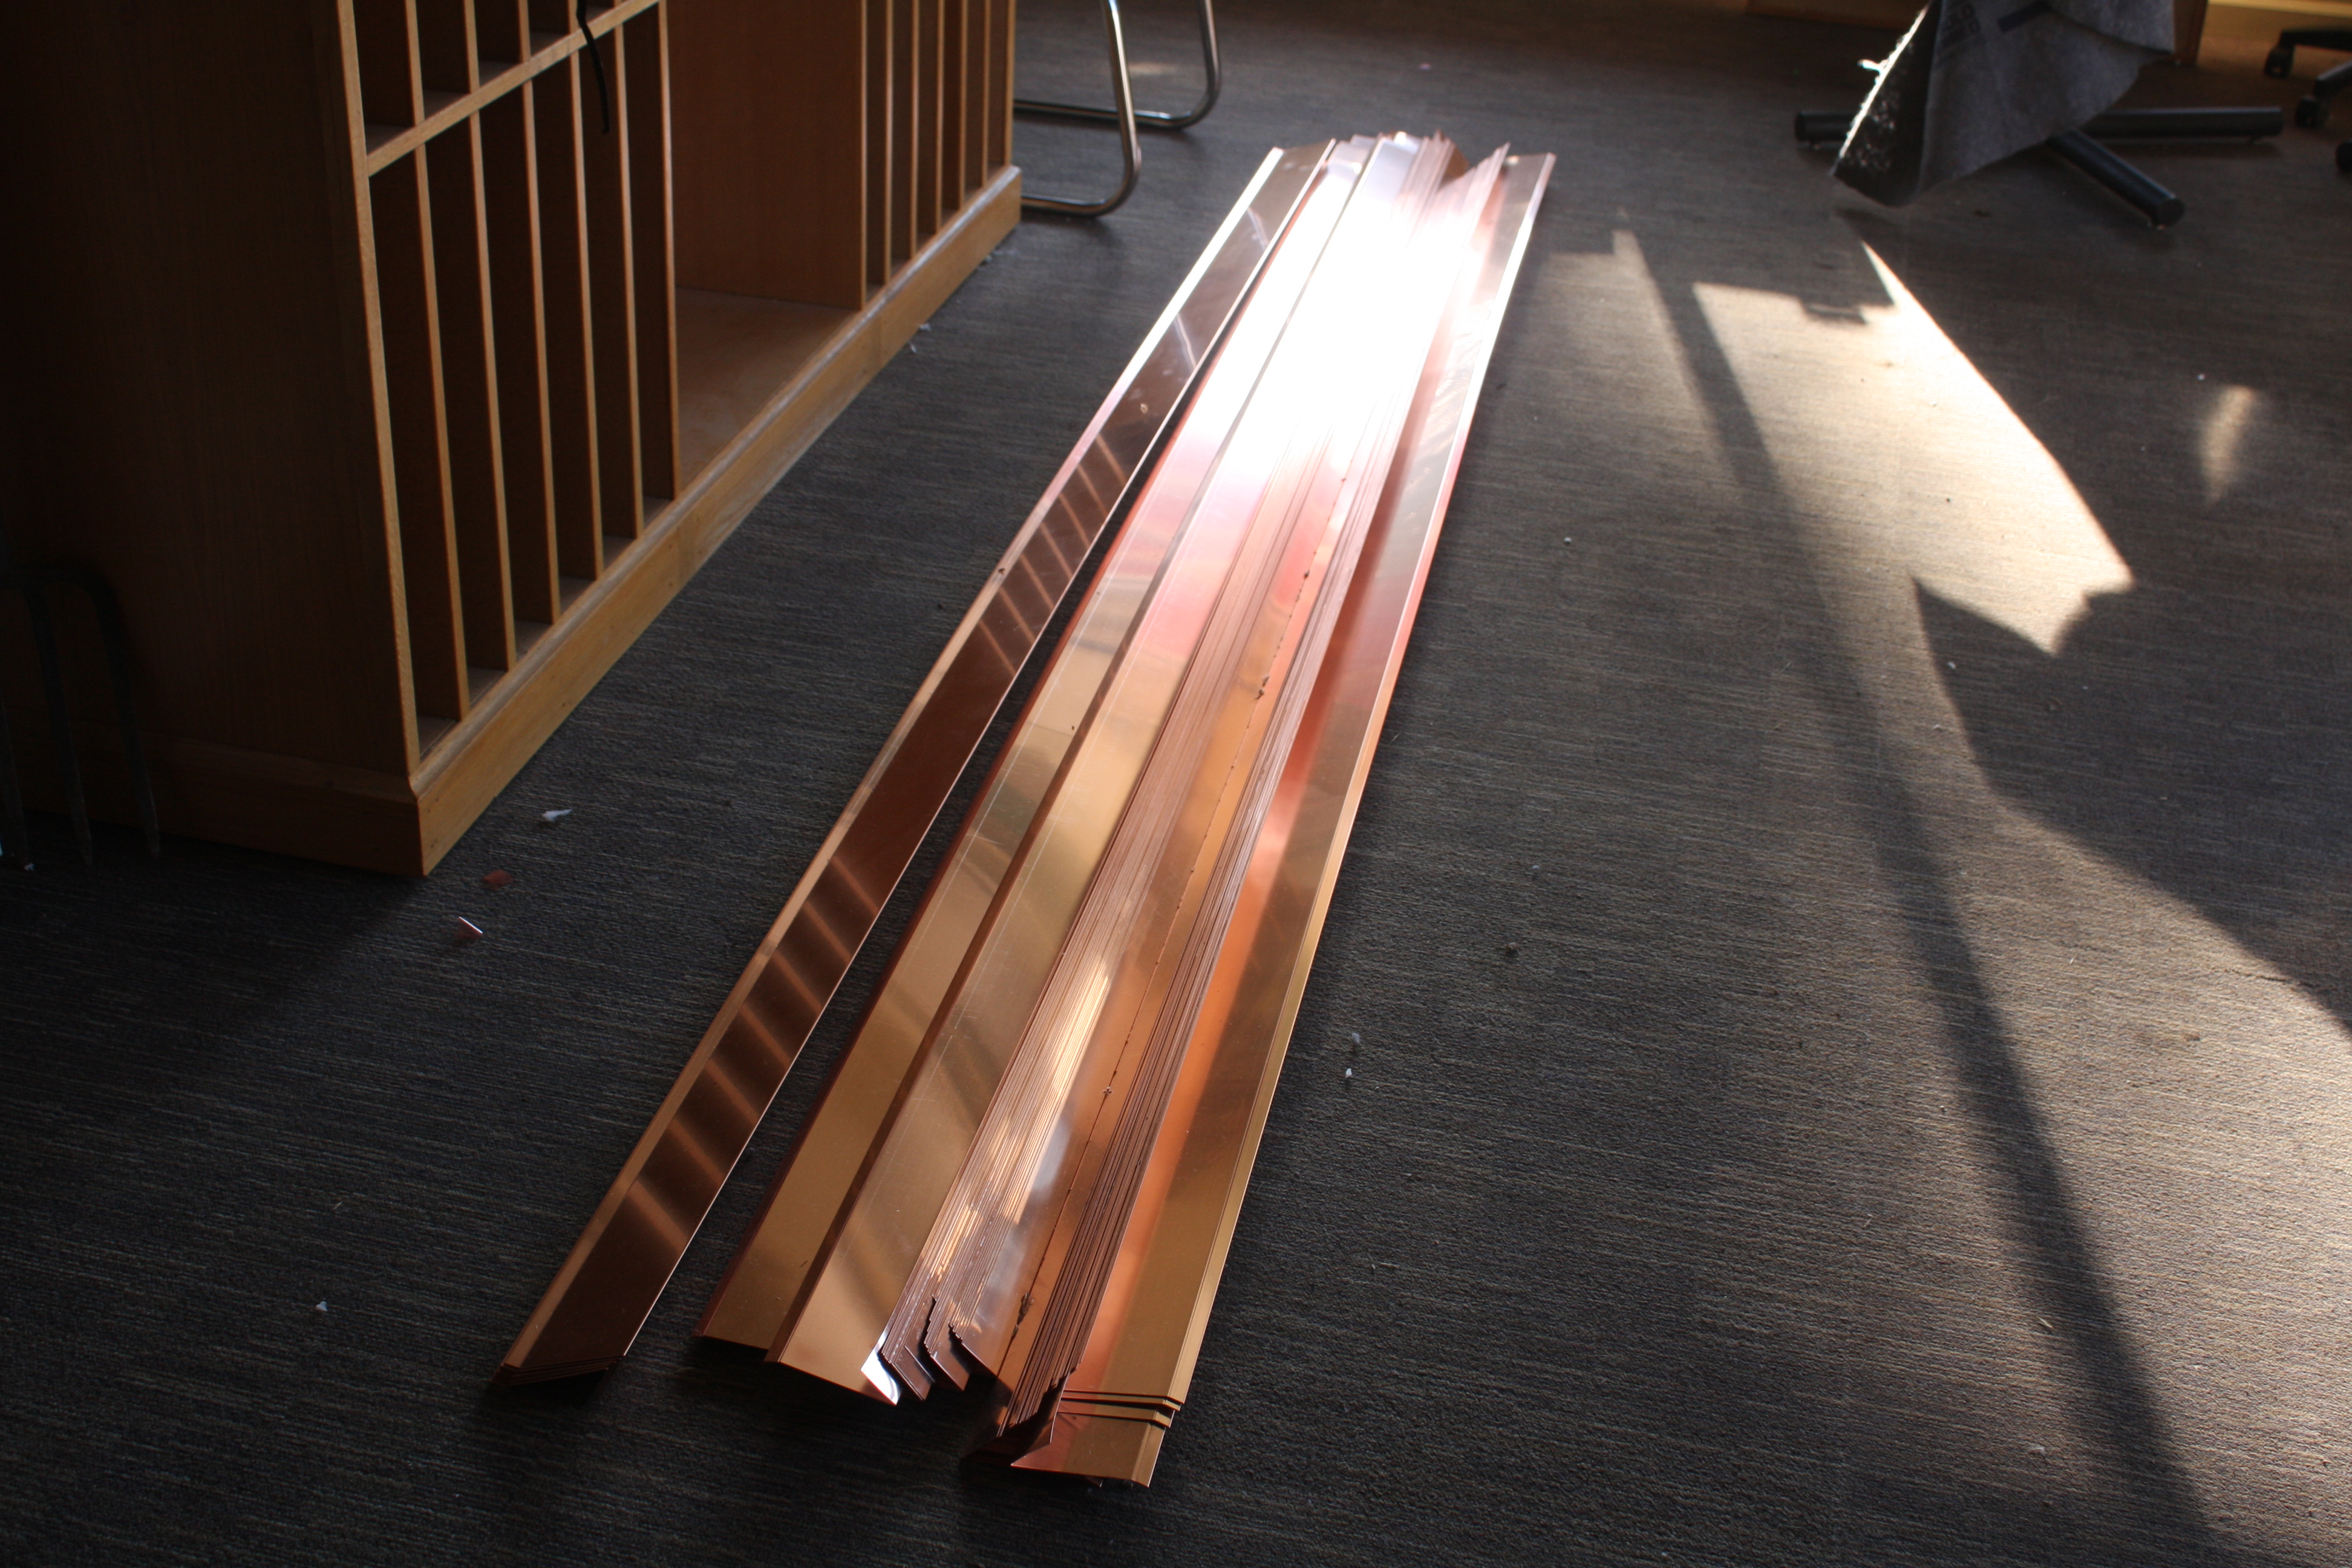
The shop has several brands of commercial acid washes. These washes, when applied following the manufacturer’s directions, will give that oxidized patina to copper gutters. Of course, manufacturer’s directions are all different. Some require using a paint brush and painting the wash on. Another wash required the copper to be heated before and after application.
We decided to do some test runs to check out the results. We had 3 different commercial acid washes, and tested each of them on our copper. Well, each wash had a different color, and all were not what our customer was looking for. After some research on the internet, we came across a popular suggestion: using Miracle Grow.
After a quick trip to our local hardware store, we began trying out Miracle Grow on some pieces of old copper. After cleaning the copper, we tried brushing it on with a paint brush. The results were better color-wise and more like the original copper we had removed. However, we were not getting the texturing correct. The finish was not consistent using a brush application. We decided to move onto immersing the copper.
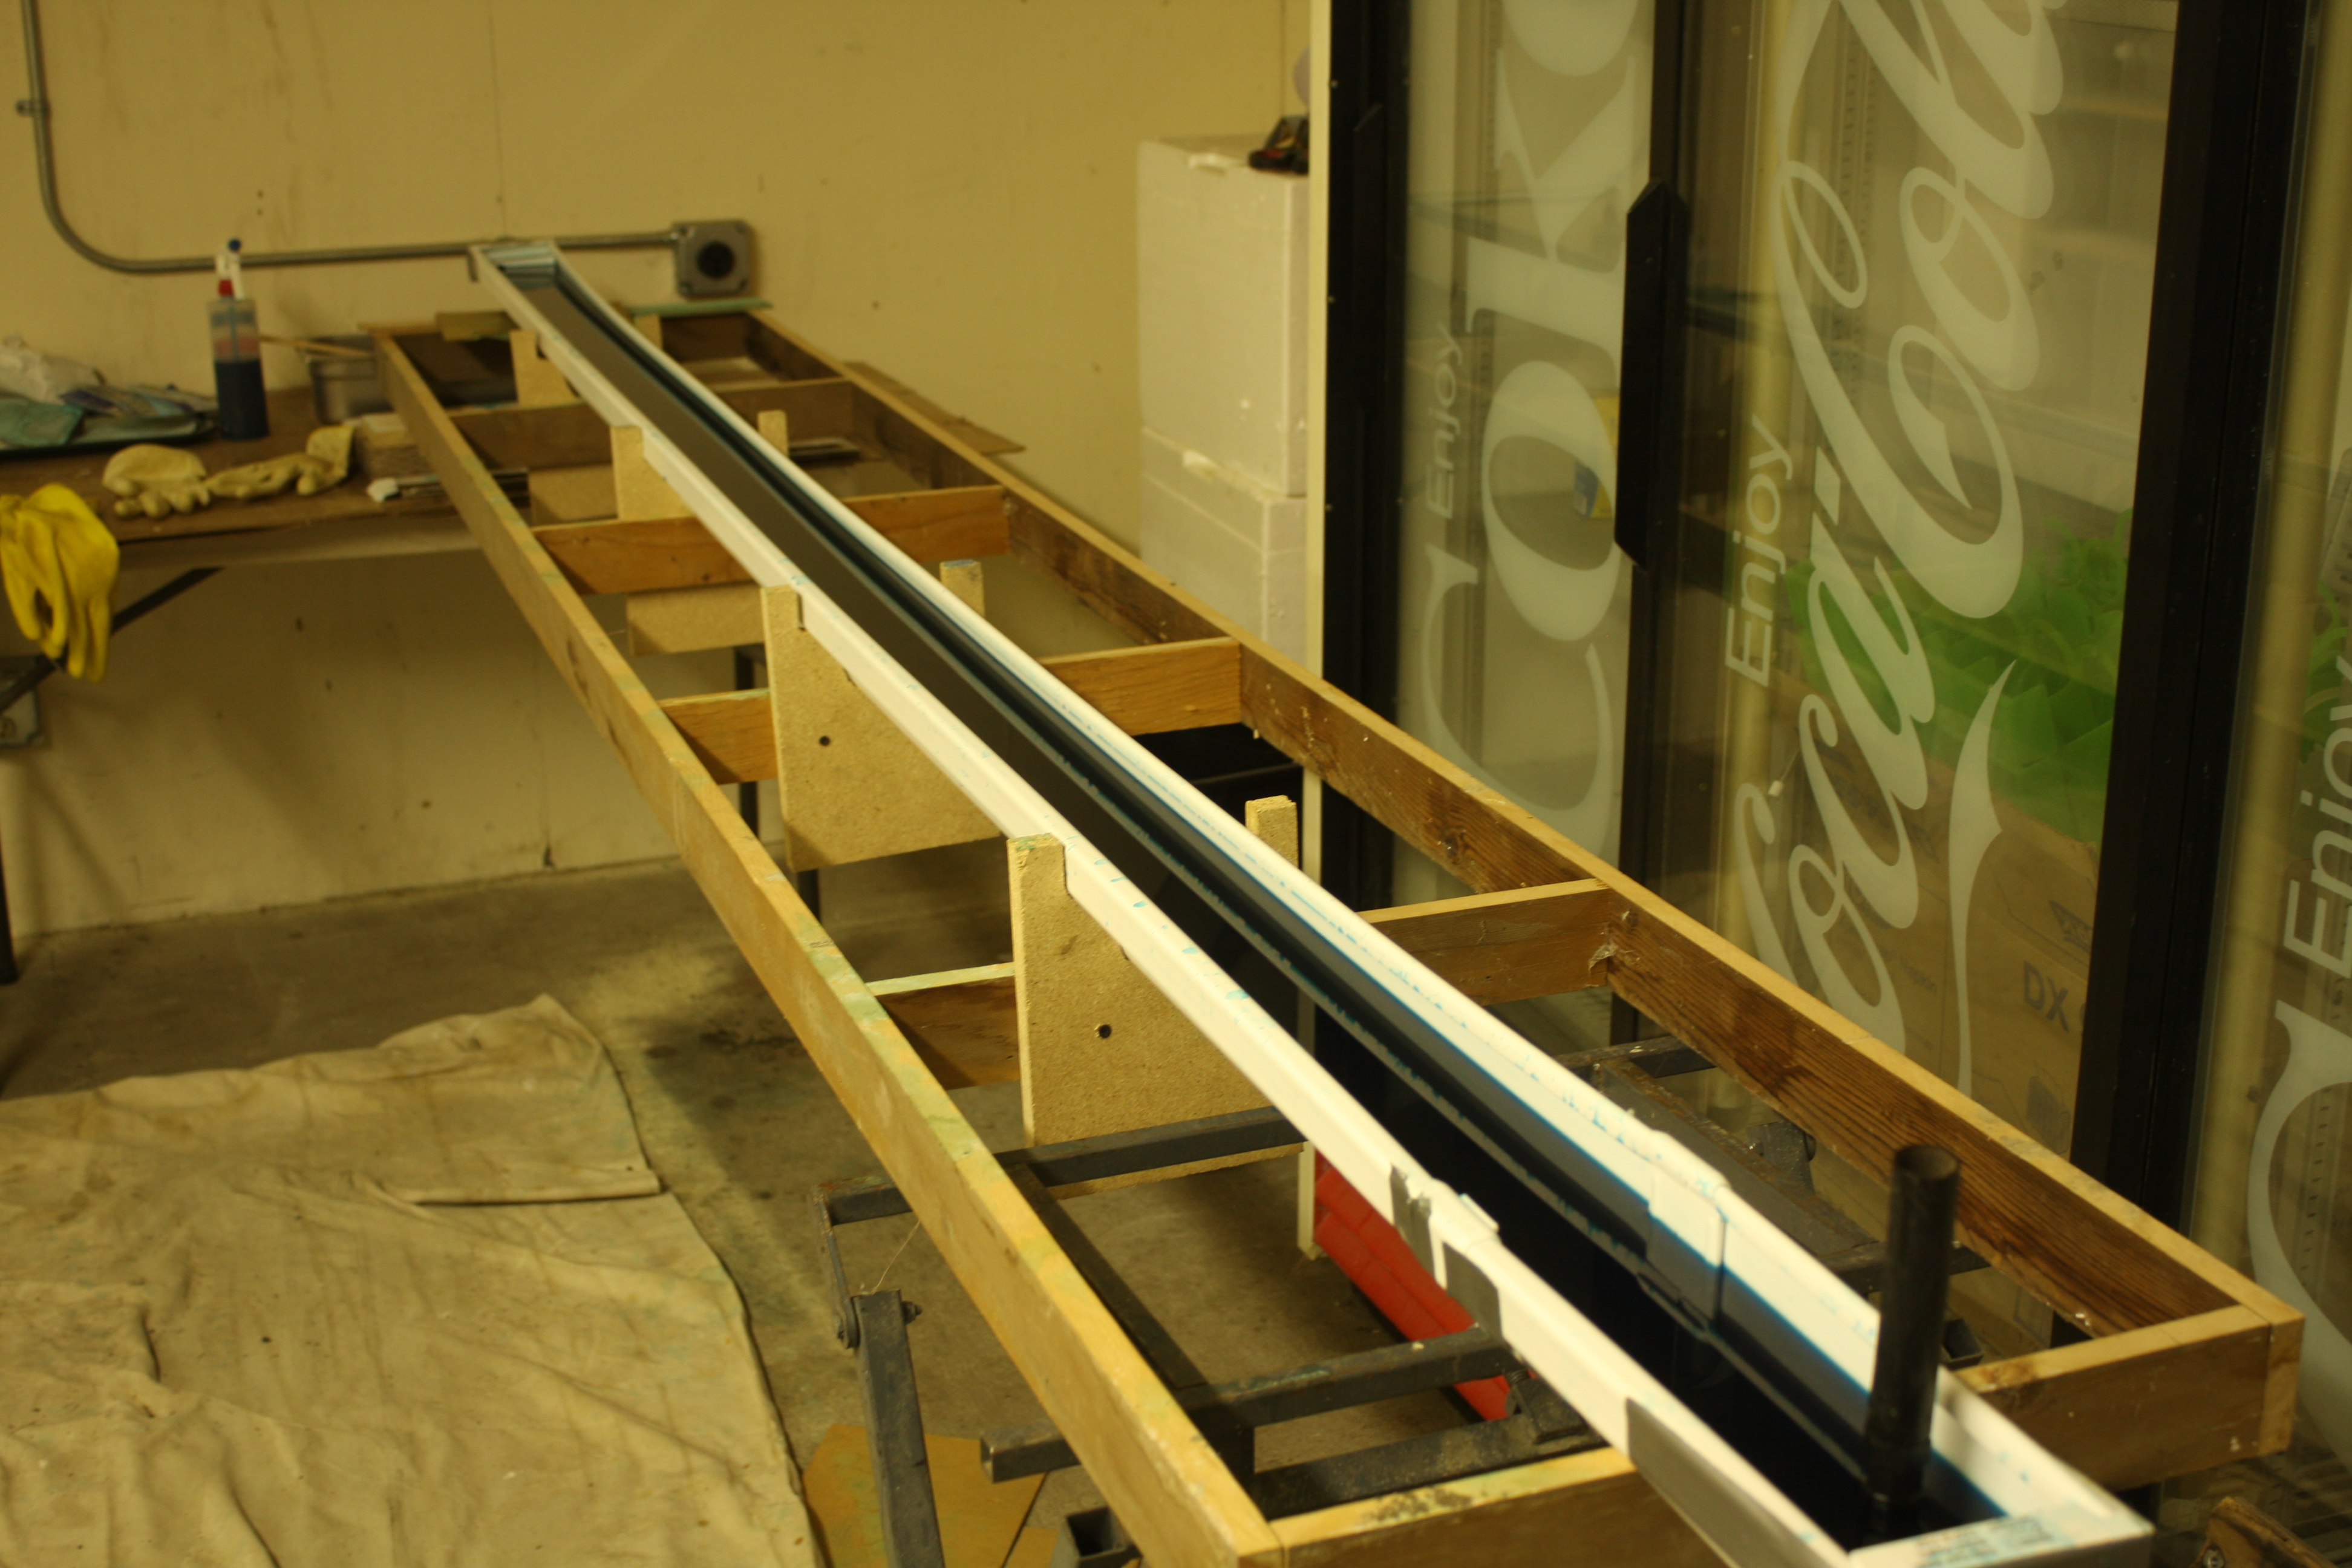
Since the new copper came in 10 foot lengths, we needed to figure out some kind of container to immerse 10’ pieces in. We have close to 75 pieces and we needed a sort of assembly line setup. We brainstormed and came up with using plastic rain gutters to immerse the metal. We also set up a homemade drying rack. Our goal is color and pattern consistency, so we wanted to dry the copper in an area where we could keep the temperature moderate (temps around here reach a bit over 100 degrees Fahrenheit during the day, but drop to the mid-60’s at night).

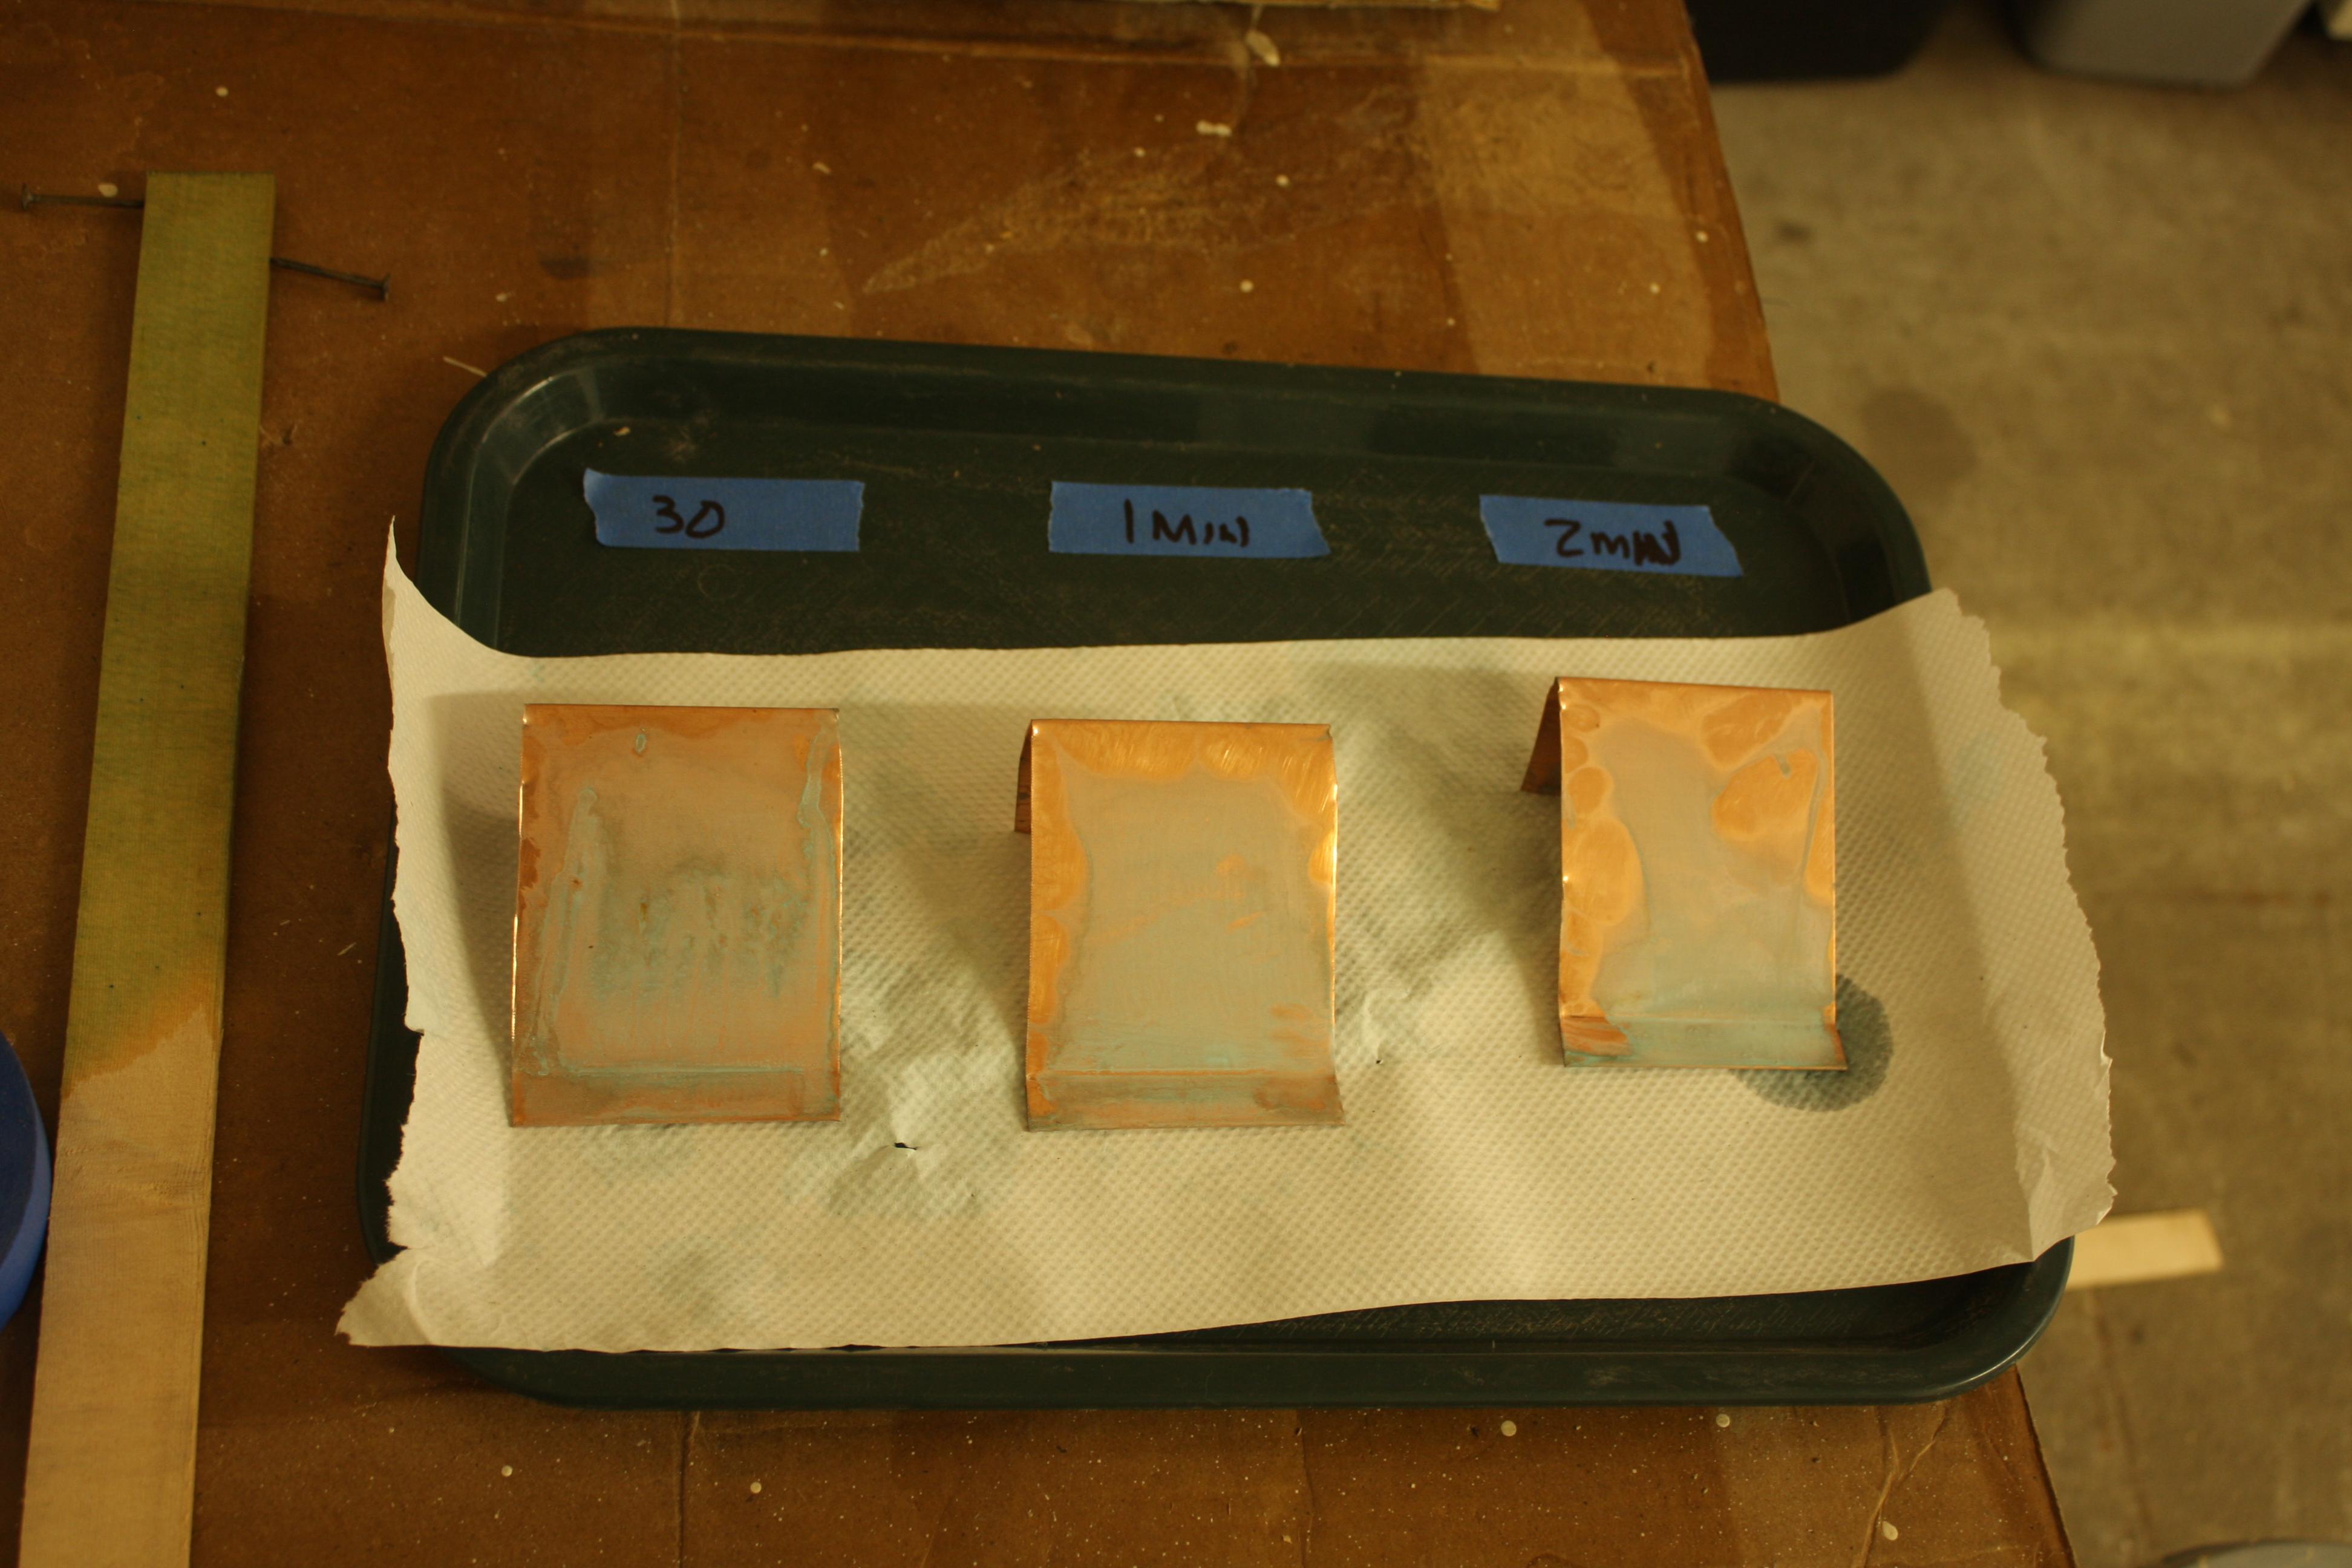
Then we entered the mad-scientist phase of our patina project! We cut up some test pieces and cleaned them using dishwashing soap. Then we started mixing our first batch of wash. We used 3 parts water to 1 part Miracle Grow and immersed the test pieces for different times: anywhere from 30 seconds to 2 minutes. We decided to go with a 30 second dip then place them on the drying rack. We laid some pieces flat and some at an angle so the Miracle Grow solution could drip off.
The metal was allowed to dry overnight. The next morning, we looked at the pieces we had dunked so far. The flat pieces were definitely a brighter blue, but not as consistent in their pattern. From here on out we made the decision to dunk each piece for 30 seconds. We would then re-dunk the copper pieces but immediately remove each piece after the second dunk. This was only to remove any crystals that had adhered to the copper during the 30-seconds it was in the bath.
It took us about two days to dunk the entire set of copper fascia due to having to scrub each piece. The cleaning accomplished two things: 1) getting rid of any residue and fingerprints, and 2) we thought using a flat, green scrubber would introduce small scratches where the Miracle Grow solution could “stick.” Our plan was really coming together, as we were getting our copper to have a consistent color and pattern. However, the blue color was not coming through as bright as we would have liked.

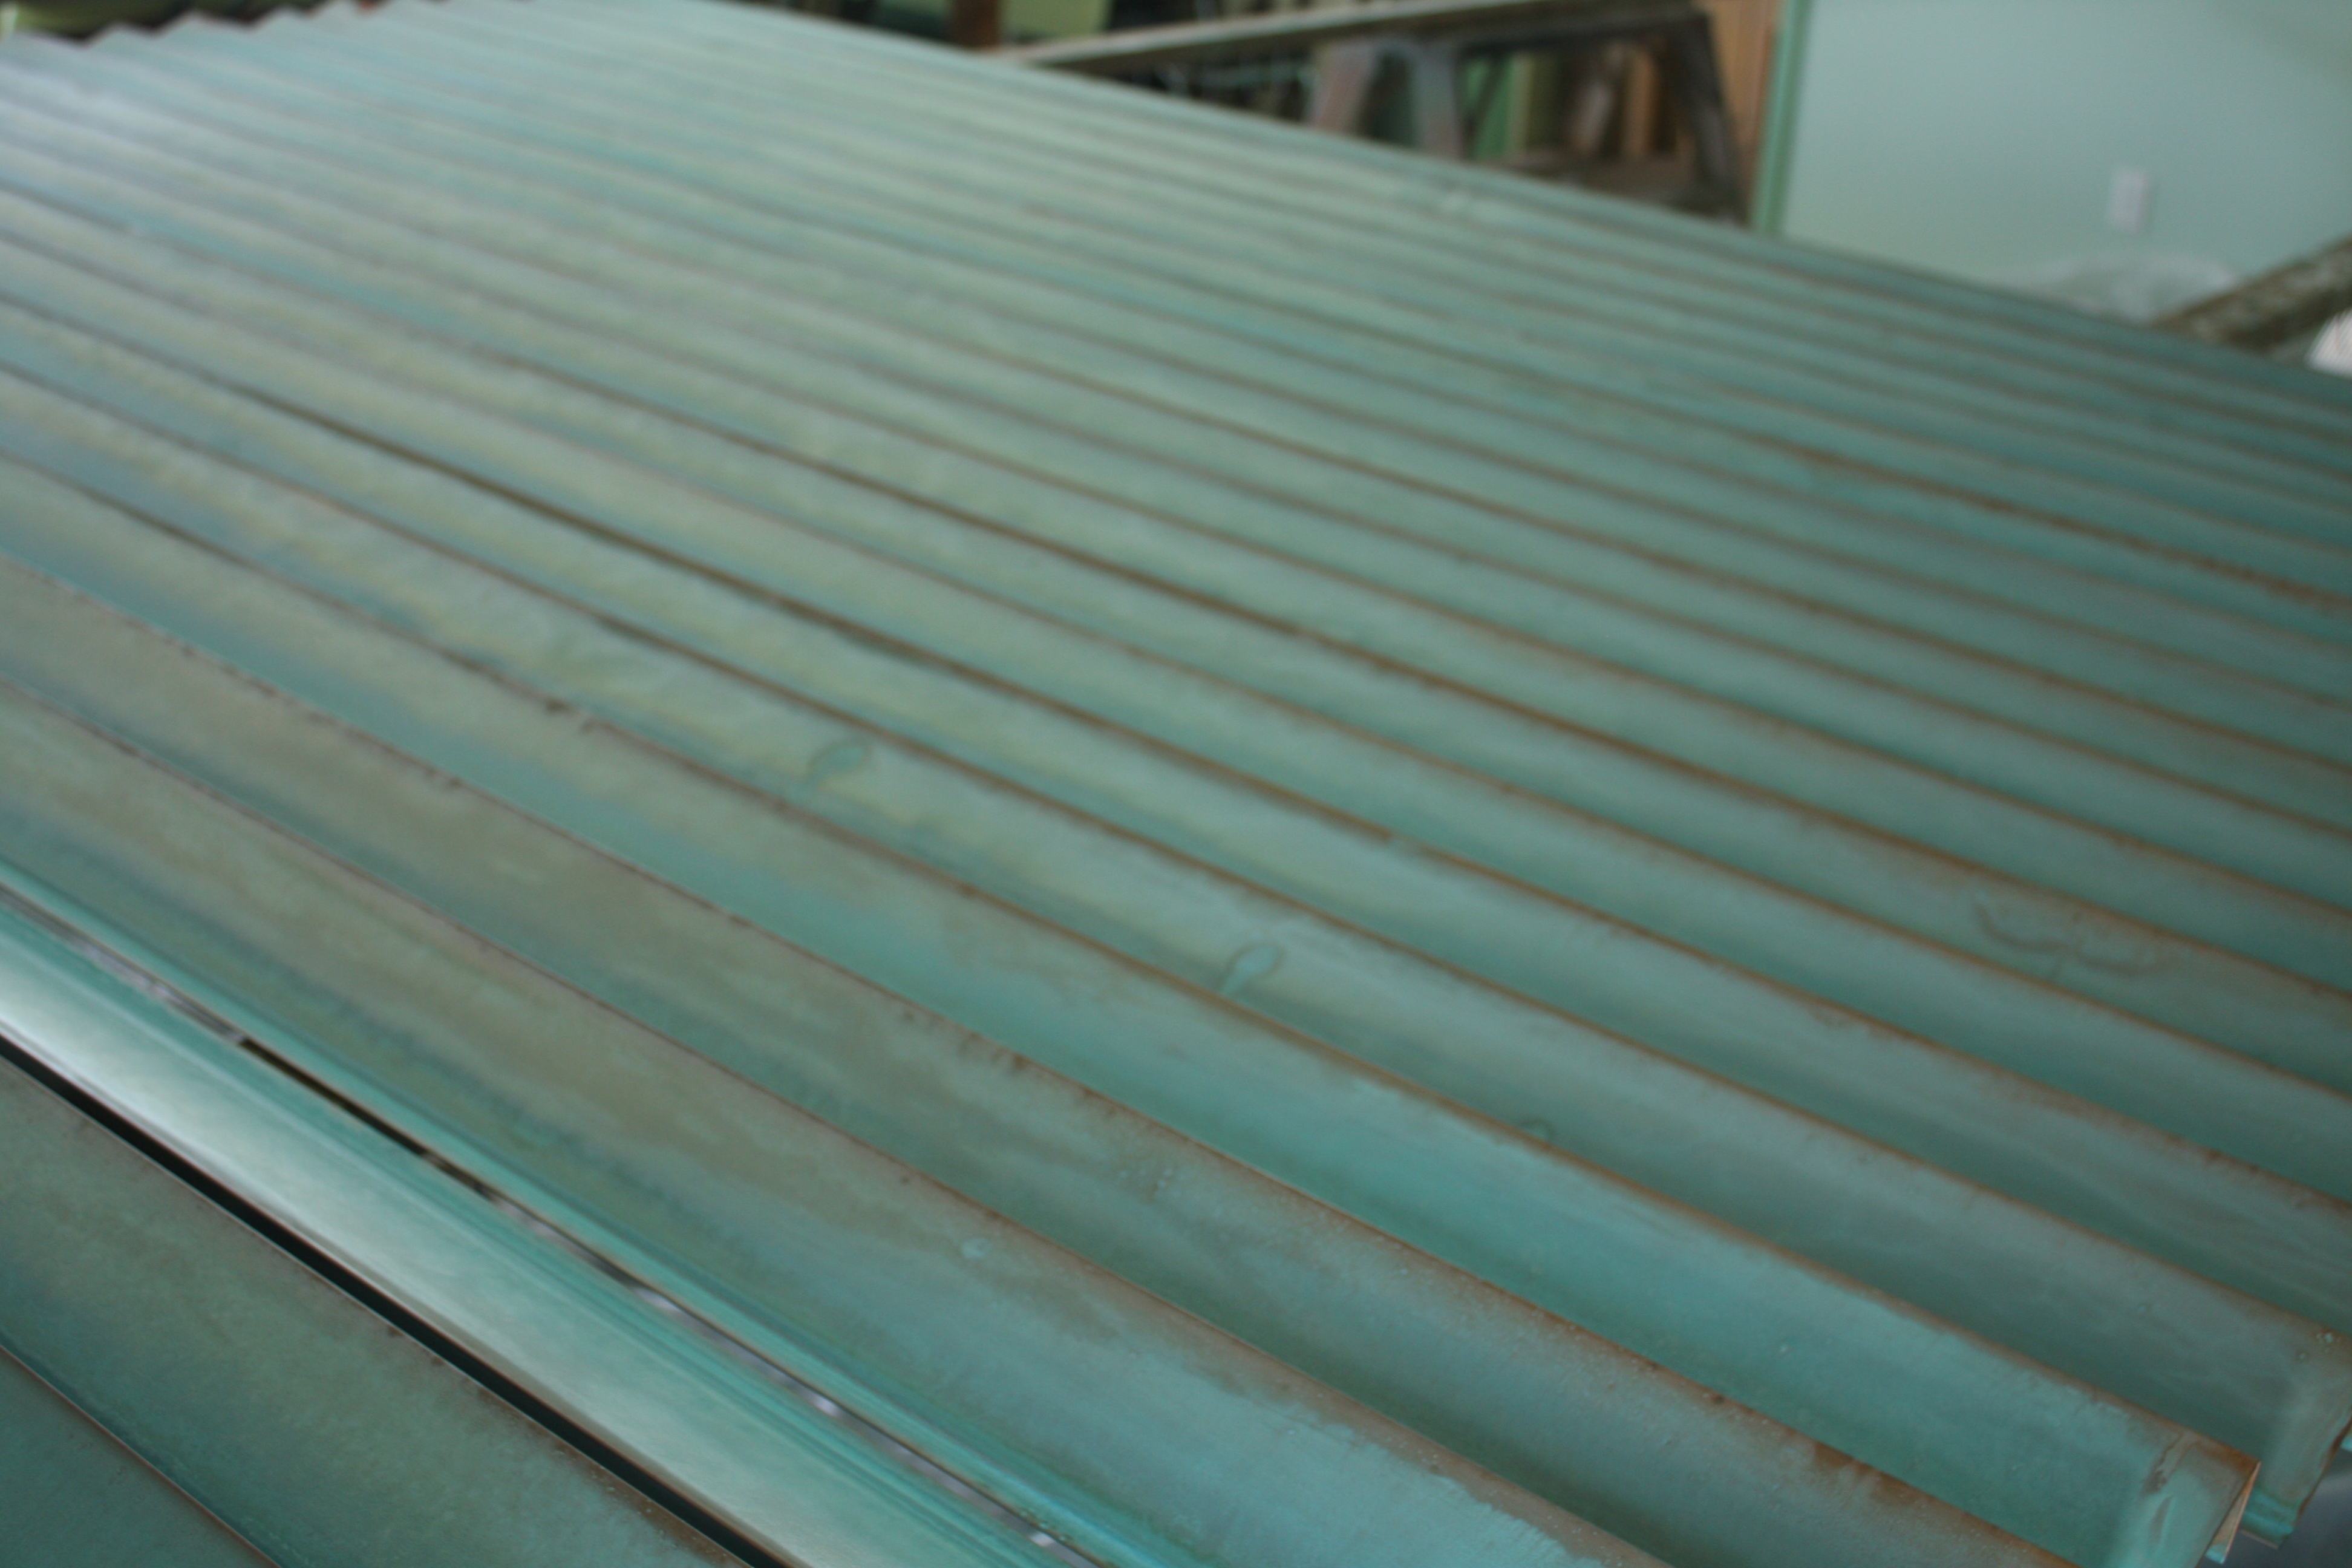
From here we thought we should go through a second dunking for each piece of copper. This stage went much quicker because we did not have to clean each piece. We did another 30 second dip, and laid the copper out to dry overnight again. The second dip turned out to really add brightness to the blue coloring.
This is Part One of our patina project. Some of the things we learned:
- Immersion time did not matter after 30 seconds for our pieces of copper. Perhaps it is because the copper is flat.
- Washing each piece was essential. The Miracle Grow solution would not “stick” to dirty metal.
- The second dunking really improved how bright the blue colored patina came out.
The next stages of our project will be to seal the patina to the copper, transport each piece, and install the fascia. Stay tuned for more blog reports as the project progresses!
24 thoughts on “Copper Patina Project”